Table of Contents
Unlocking the Secrets of a Glowing Complexion: The Best DIY Facials
When it comes to achieving a radiant and healthy-looking complexion, many of us rely on commercial products or treatments, but often overlook the incredible benefits of DIY facials. By combining natural ingredients and home remedies, you can create customized treatments that cater to your specific skin type and concerns, leading to a more even-toned, smooth, and glowing complexion. In this article, we’ll explore the best DIY facials and provide you with a step-by-step guide on how to create your own customized facial treatments at home.
Understanding Your Skin Type and Concerns
Carefully evaluating your skin type and concerns is crucial to creating an effective DIY facial. Whether you have normal, oily, dry, combination, or sensitive skin, your facial should be tailored to address your specific needs. Take the time to diagnose your skin, noting its texture, tone, and any areas of dryness, oiliness, or sensitivity. This knowledge will help you select the right ingredients and come up with a personalized treatment plan.
Setting the Stage with Exfoliation and Cleansing
Before you can unlock the full potential of your DIY facial, you need to create a clean slate. Begin by exfoliating your skin using a gentle exfoliating scrub or a chemical exfoliant like alpha-hydroxy acids (AHAs) or beta-hydroxy acids (BHAs). Then, use a mild cleanser that suits your skin type to remove any dirt, impurities, and makeup. Be sure to rinse your face thoroughly and pat it dry.
Affording Your Skin with Various Ingredients
Now it’s time to unleash the power of various ingredients to target your specific skin concerns. For dry skin, opt for nourishing ingredients like coconut oil, olive oil, or honey, which provide hydration and soothe dryness. For acne-prone skin, look to tea tree oil and aloe vera, which possess antibacterial properties and anti-inflammatory properties, respectively. If you have sensitive skin, consider using oatmeal or green tea, both of which are known for their anti-inflammatory and soothing properties.
Advanced Ingredients for Enhanced Results
If you’re looking for an extra boost, consider incorporating some advanced ingredients like vitamin C, retinol, or glycolic acid into your facial. These powerful antioxidants, peptides, and alpha-hydroxy acids can help address signs of aging, such as fine lines, wrinkles, and uneven tone, while also enhancing your skin’s natural radiance.
Completing the Moisturizing and Protecting Stages
Finish your facial by applying a moisturizer or serum that caters to your skin type and concerns. Don’t forget to apply a broad-spectrum sunscreen with an SPF of at least 30 to protect your skin from environmental stressors and UV damage. This will help lock in all the benefits of your DIY facial and ensure it lasts for hours to come.
The Final Touch: Sealing it All In
To take your facial to the next level, consider adding a face mask, which can provide an extra layer of hydration, exfoliation, or brightening. From sheet masks to cream masks, you can choose the type that best suits your skin needs. For maximum effectiveness, apply the mask, sit back, and let it work its magic for 15-30 minutes before rinsing off and finishing with your moisturizer.
Recommended Products
-
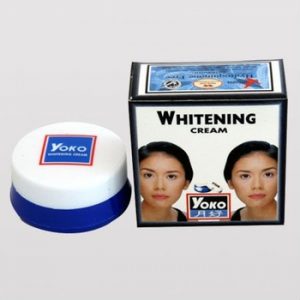 Yoko Whitening Cream 5gKD0.500
 -
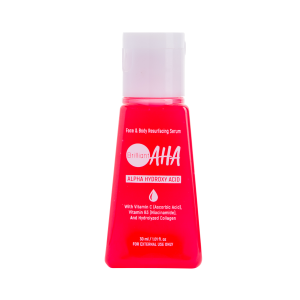 Face & Body Resurfacing Serum (Brilliant AHA) 30 mLKD3.000
 -
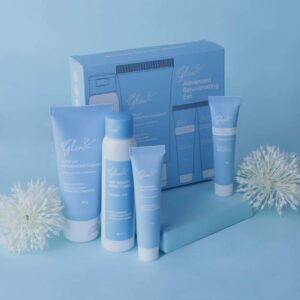 Hello Glow Advanced Rejuvenating SetKD7.000
 -
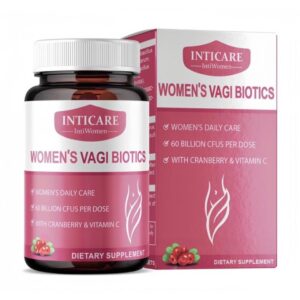 INTICARE intiWomen Women’s Vagi Biotics 30’sKD9.000
 -
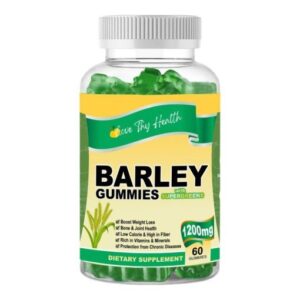 Barley Gummies with Super Greens 1200mg 60 GummiesKD7.000
 -
Product on sale
 Beauty Collagen Vitamin C Powder 300gOriginal price was: KD15.000.KD13.000Current price is: KD13.000.
 -
Product on sale
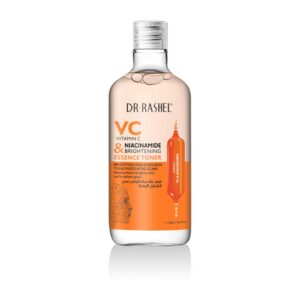 Dr.Rashel Vitamin C Niacinamide Brightening Essence Toner – 500mlOriginal price was: KD3.990.KD3.100Current price is: KD3.100.
 -
 BMRS Retinol Serum – 30mlKD5.990
 -
 BMRS Retinol Collagen Facial Cream – 30gKD4.490

